Knowing how to fix a sagging gate is the first step to avoiding an unnecessary replacement. In most cases, the solution is simpler than it seems, whether it’s tightening loose hardware, resetting a leaning post, or installing an anti-sag cable kit.These targeted fixes can restore your gate’s structure without the cost of starting over, helping you keep your overall gate repair cost significantly lower.
With the right approach, you can bring your gate back to proper alignment, improve how it swings, and ensure the latch connects smoothly again. This guide walks you through the key steps to restore stability and extend the life of your gate without replacing it.
How to Fix a Sagging Gate: Step-by-Step Instructions
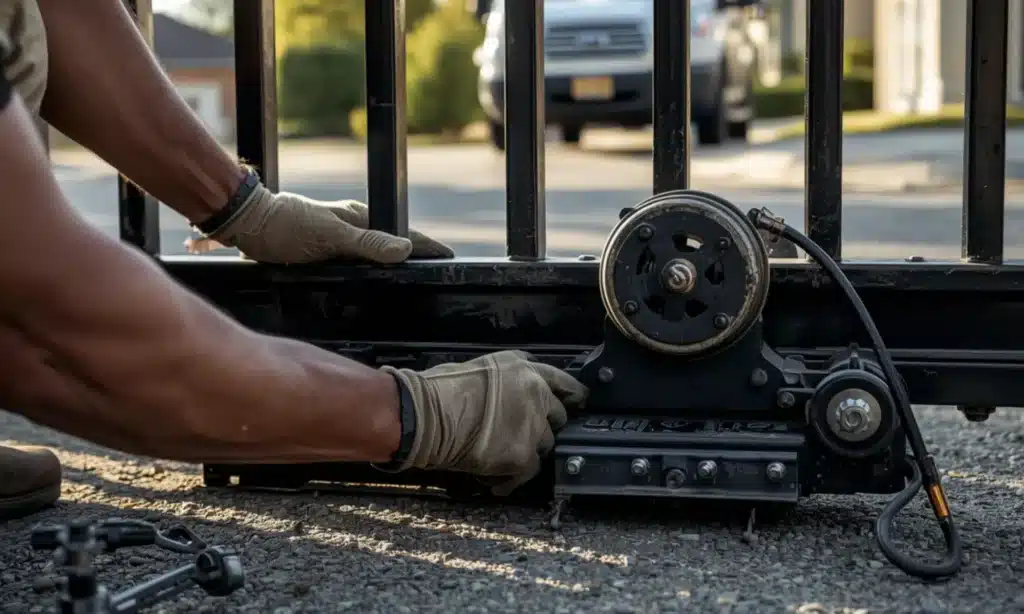
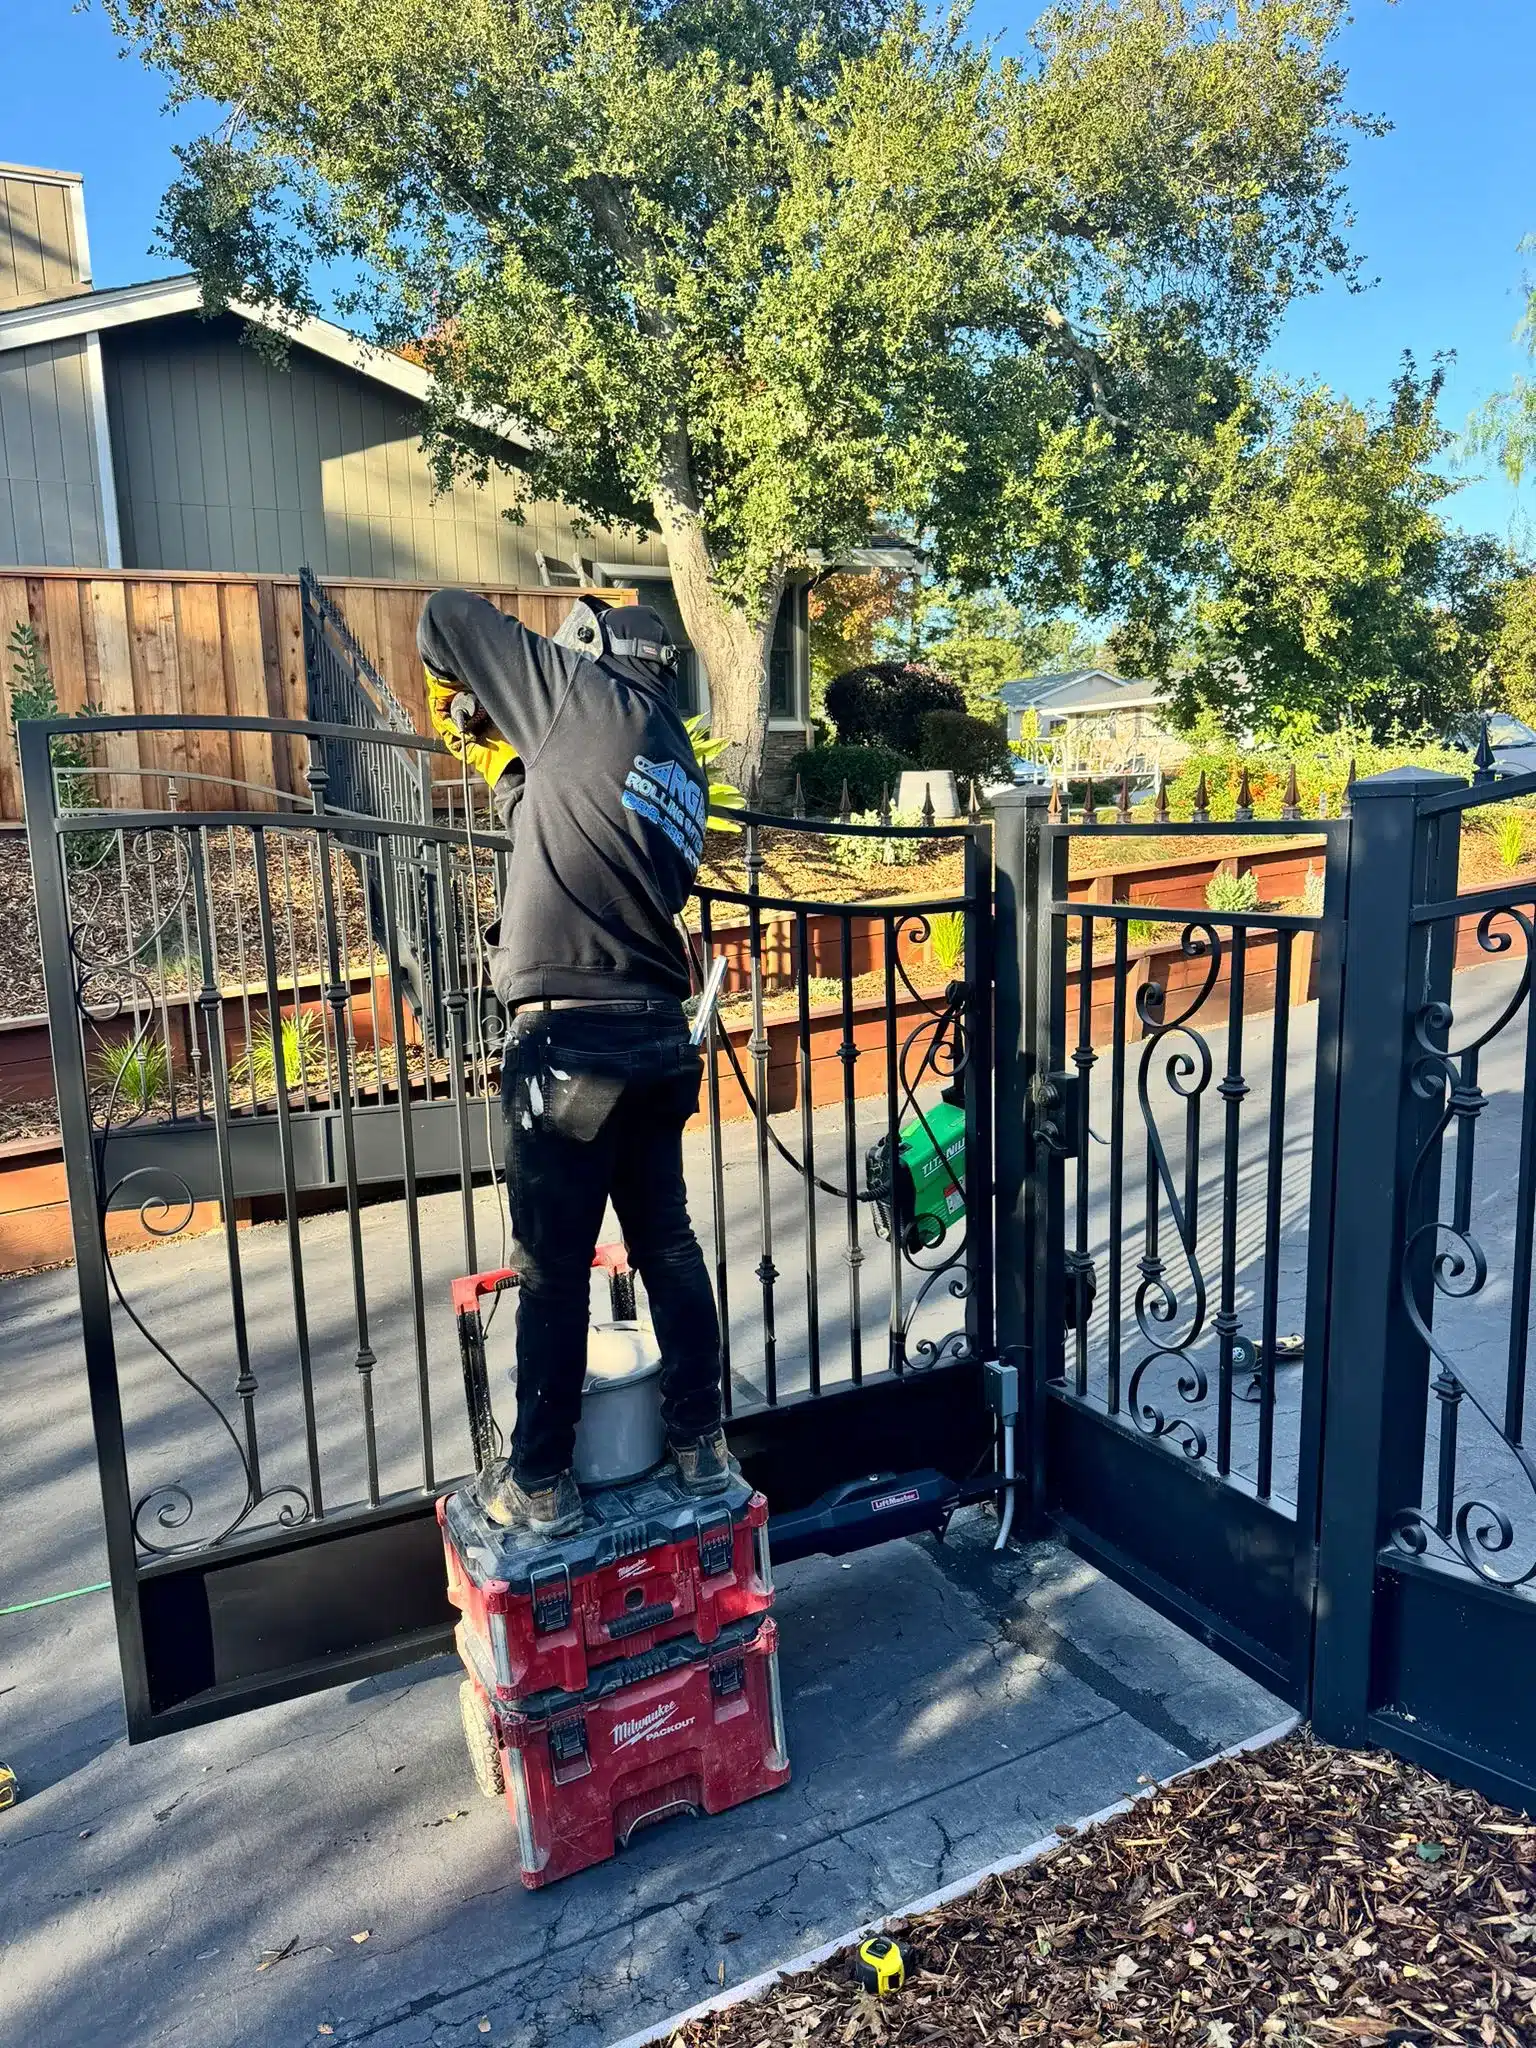
Fixing a sagging gate doesn’t require anything overly technical, but it does require the right sequence. Most repairs fail not because they’re done poorly, but because they’re done out of order. If you follow these steps properly, you can correct the sag and keep it from coming back.
Step 1: Check if the Gate Is Out of Square
Start by opening the gate fully so there’s no pressure from the latch. Use a tape measure to check the diagonals, and measure from the top hinge-side corner to the bottom latch-side corner, then measure the opposite diagonal.
If those numbers don’t match, your gate frame is racked (out of square). Even a small difference can throw off alignment, but a larger gap means the frame has shifted enough that it must be pulled back into position before anything else will work properly.
Step 2: Inspect and Tighten the Hinges
Move on to the hinges, since they carry most of the gate’s weight. Check each connection point carefully and look for loose screws, rust, bent hinge plates, or worn hinge pins. Tighten every screw first, but pay attention to whether they actually “bite.” If a screw spins freely, the hole is stripped and no longer provides support.
In that case, either fill the hole with wood epoxy and reinstall once cured, or replace it with a longer, thicker lag screw that anchors deeper into the structural post. If the hinges themselves are worn or bent, replacing them entirely is often the better long-term fix. Minor sag can sometimes be corrected at this stage alone.
Step 3: Check the Gate Post Before Anything Else
Before making any structural adjustments, confirm that the gate post is solid. This is the foundation of the entire system. Grab the post and push it firmly in multiple directions; there should be zero movement. If it shifts, leans, or feels loose, the footing has likely weakened due to soil movement, moisture damage, or improper installation.
Use a level to confirm whether it’s still perfectly vertical. If the post is not plumb, any adjustments to the gate itself will fail over time. In this case, the post needs to be reset, reinforced with concrete, or braced before moving forward.
Step 4: Pull the Gate Back Into Alignment
Once the post and hinges are secure, you can correct the gate’s shape. Install an anti-sag cable (turnbuckle kit) from the top corner on the hinge side to the bottom corner on the latch side. This direction is critical because it counteracts gravity. Begin tightening the turnbuckle slowly, a few turns at a time.
As tension increases, the frame will gradually pull back into a square. Check alignment frequently as you go to avoid overcorrecting. If you tighten too much, you can bow the frame outward, creating a different issue. The goal is to bring the diagonals back into equal measurement, not to force the gate beyond that point.
Final Step: Test and Fine-Tune
After adjustments are complete, rehang the gate and test its movement. Open and close it several times, letting it swing naturally without forcing it. Watch for dragging along the ground, resistance in movement, or misalignment at the latch.
The latch should meet cleanly without needing to lift or push the gate into place. If it doesn’t, make small hinge or latch plate adjustments until everything lines up smoothly. Taking the time to fine-tune here ensures the repair holds and prevents future sag from developing again.
How to Fix a Sagging Gate Without Making It Worse
Even with the right tools, small execution mistakes can undo your repair or make the problem worse. In many cases, these issues don’t just affect alignment because they start to impact how the gate functions overall.
Homeowners often notice signs like increased resistance, inconsistent movement, or even situations where the gate won’t open at night, especially as temperature changes expose underlying alignment problems. These are the most common mistakes to avoid.
Skipping the Post Check
Fixing anything before checking the post is a losing move. If the post is leaning or unstable, tightening hinges or adding supports won’t hold for long. The post needs to be perfectly plumb first. In colder climates, frost heave is often the hidden issue. If the ground shifts over winter, the footing may need to be reset below the frost line.
Using Screws That Are Too Short
Short screws might feel tight at first, but they don’t anchor into the structural post. Over time, they loosen and strip under the gate’s weight. Always use long, heavy-duty fasteners (like 3-inch lag screws) that bite deep into the post itself.
Running the Turnbuckle Cable in the Wrong Direction
The direction of the cable matters more than most people think. It should run from the top hinge side to the bottom latch side. If it is installed the opposite way, it actually pulls the gate further into sag instead of correcting it, one of the most common DIY mistakes.
Over-Tightening the Turnbuckle
More tension doesn’t mean a better fix. Cranking the turnbuckle too tight can bow the frame outward, creating a new alignment issue. Tighten gradually in small increments, checking alignment as you go to keep the frame square.
Ignoring the Latch Hardware
Even after fixing the sag, a misaligned latch can keep stressing the gate. Forcing the gate shut puts constant pressure on the frame, slowly pulling it out of alignment again. Always adjust the striker plate after leveling the gate. On automatic gates, this added strain can even affect the motor over time.
Factors that Cause a Gate to Sag
Gate sagging is rarely random; it’s almost always tied to structural wear or shifting over time. Spotting the cause early keeps repairs simple and avoids bigger structural fixes later. Beyond performance issues, a failing gate can also become a safety risk if left unaddressed, especially with automatic systems, as highlighted by the U.S. Consumer Product Safety Commission.
In fact, thousands of gate-related injuries are reported each year, many of them caused by malfunctioning or poorly maintained systems, reinforcing why early repair isn’t just about convenience, but safety.
Post Rot or Lean
The gate post carries the full weight of the gate. When it begins to rot (common with wood) or lean due to soil movement, the entire structure shifts out of alignment. Even a slight tilt can cause noticeable sag at the latch side. This isn’t just normal wear, because it’s one of the key warning signs of gate damage and should be addressed with immediate service before it leads to more serious structural issues.
Hinge Failure
Hinges take constant stress every time the gate opens and closes. Over time, hinge pins wear down, screws loosen, or metal components corrode, reducing their ability to hold the gate level and properly support its weight.
Stripped Screw Holes
When screws no longer grip tightly into the post or gate frame, the hinges start to pull away from their mounting points. This often happens from repeated movement or using screws that are too short. Once the connection weakens, it creates instability that allows the gate to shift under its own weight, eventually leading to sagging and poor alignment at the latch.
Missing or Weak Diagonal Bracing
A properly built gate relies on diagonal bracing to evenly distribute weight and maintain a square frame. Without this support, the structure has nothing to counteract gravity. Over time, the unsupported side begins to pull downward, leading to a gradual but consistent sag that worsens with use.
Wood Warping from Moisture
Wood expands and contracts with moisture changes. Repeated exposure to rain, humidity, and temperature shifts can warp the frame, throwing it out of square and affecting how the gate opens and closes.
Ground Settling
Soil naturally shifts over time, especially with freeze-thaw cycles or poor compaction. As the ground moves, it can push the post footing out of plumb, directly affecting the gate’s alignment and overall stability.
Get Reliable Gate Repair Services from Rolling Gates
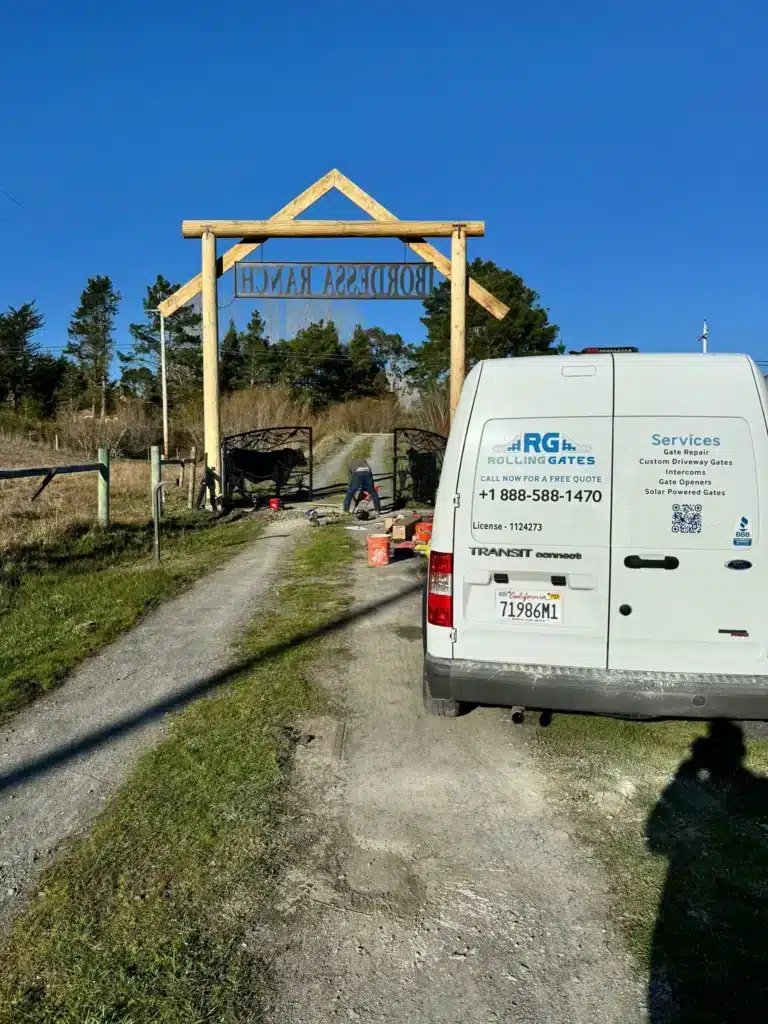
When your gate starts sagging, sticking, or failing to close properly, quick fixes only go so far. What actually solves the problem is a proper diagnosis and a repair that addresses the root cause, and that’s where we stand out.
At Rolling Gates, we provide professional gate repair services that go beyond quick fixes. we focus on diagnosing the real cause of issues like sagging, misalignment, or hinge failure, so your gate works properly long after the repair is done. Every job follows a structured approach, backed by our inspection process, ensuring nothing gets overlooked.
As a trusted fence contractor serving the Bay Area, we provide expert gate repair services across Contra Costa County, Alameda County, San Mateo County, Santa Clara County, San Francisco, and beyond. So no matter where you’re located, reliable service is always within reach.
With 7+ years of experience, same-day service availability, and a 5.0-star reputation, we handle everything from residential driveway gates to heavy-duty commercial systems. Our team comes fully equipped to complete most repairs on-site, so you’re not left dealing with delays or temporary fixes.
Restore Your Gate with Confidence
Fixing a sagging gate doesn’t have to mean starting from scratch. In most cases, the right adjustments done in the right order can bring your gate back to proper alignment and extend its lifespan for years. By understanding the root cause and applying the correct fix, you avoid unnecessary costs while keeping your gate operating smoothly and safely.
Partnering with an experienced contractor for gate repair guarantees a proper, long-term solution instead of just a quick fix. At Rolling Gates, our gate repair services are built around long-term reliability, not temporary fixes, so you can move forward knowing your gate is secure, aligned, and built to last. Take the next step toward a proper repair and contact us today for your free quote to get your gate working like it should again.