Curious about upgrading your property in Walnut Creek with a vinyl fence gate but unsure where to begin? Situated in scenic Contra Costa County, Walnut Creek blends suburban comfort with a touch of urban sophistication—making curb appeal a top priority for many homeowners. Fortunately, installing a vinyl fence gate is an excellent way to elevate both the look and security of your residence.
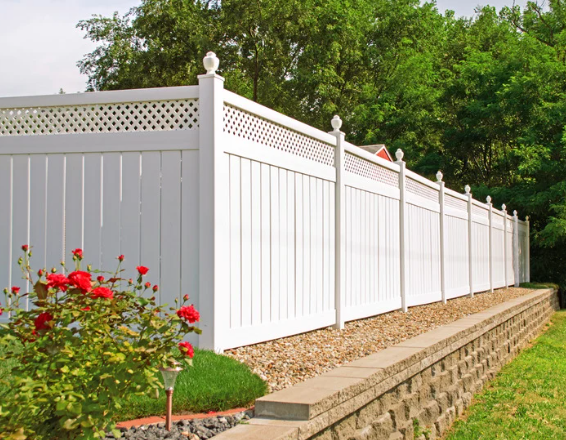
What makes vinyl a standout choice over traditional wood or metal? The answer lies in its durability and low-maintenance nature. Walnut Creek’s climate can present a range of conditions—from dry summers to damp winters—and vinyl handles these shifts without succumbing to rot, rust, or warping. Plus, with styles to suit virtually any architectural design, vinyl fencing offers the flexibility to match your home’s aesthetic while minimizing upkeep.
In this guide, we’ll share expert advice on how to install vinyl fence gate in Walnut Creek, CA, focusing on critical factors like soil type, local regulations, and best practices for a seamless, frustration-free installation. Get ready to transform your property into a polished, functional space that perfectly captures Walnut Creek’s blend of charm and sophistication.
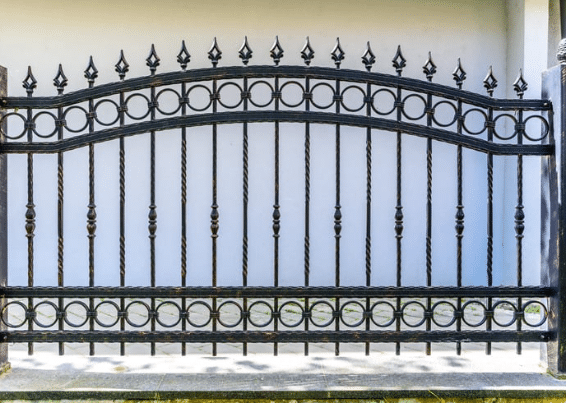
Why Choose a Vinyl Fence Gate?
Before we dive deep into how to install vinyl fence gate in Walnut Creek, CA, let’s look at why vinyl is a popular choice among homeowners and contractors alike.
- Durability in Walnut Creek’s Climate
Walnut Creek experiences mild, wet winters and hot, dry summers. Vinyl fences don’t warp, rot, or rust like wood or metal, so they stay looking great year after year.
- Low Maintenance and Long-Term Savings
With a vinyl fence gate, you don’t have to worry about routine staining or painting. Just hose it down once in a while, and you’re good to go. Less work, more time (and money) saved.
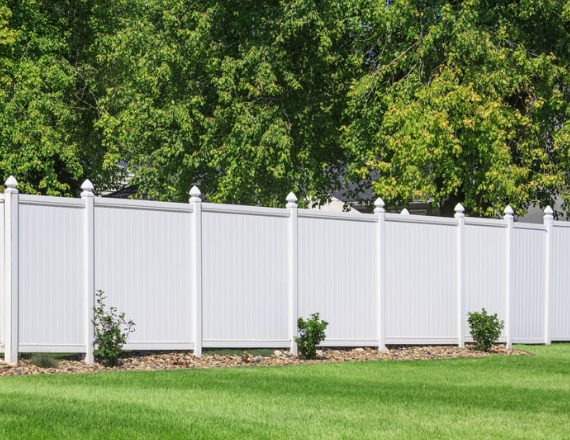
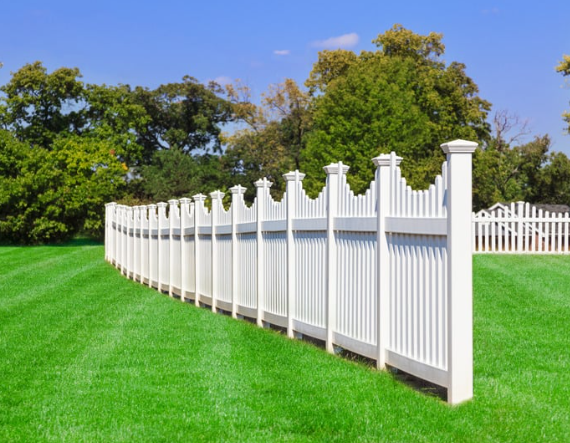
- Aesthetic Appeal and Property Value
Vinyl fence gates come in various designs—from classic picket styles to privacy fences with decorative tops. Whether you want a classic picket or a sleek privacy fence, vinyl looks sharp and boosts curb appeal. It’s a solid investment that keeps your home looking polished with minimal effort.
Understanding Fence Height Regulations in Walnut Creek, CA
If you’re planning to build a residential fence in Walnut Creek, CA, it’s essential to understand the city’s height restrictions to determine whether a permit is required. According to the City of Walnut Creek’s Community Development Department, a fence can be built without a permit as long as it adheres to specific height limitations:
- Maximum Height for Residential Fences:
- No fence, wall, or similar structure can exceed 6 feet in height.
- Front Yard Setback Restrictions: If the fence is located within the front yard setback area, its height must not exceed 3 feet.
These regulations ensure that fences do not obstruct visibility and maintain the aesthetic and safety standards of the community. For more details, visit the City of Walnut Creek’s official site: Walnut Creek Fence Regulations.
- Obtain Necessary Permits:
If your fence design exceeds these limits, you may need to obtain a permit or apply for a minor use permit. Securing the right permits and approvals early prevents costly fines or the need to modify your fence after installation.
- Review HOA Guidelines:
If you live in a neighborhood with an HOA, confirm the fence color, style, and height rules to ensure compliance.
Before You Begin
At Rolling Gates, we always advise a bit of prep work before you dive into your installation project. A little planning upfront goes a long way toward ensuring a smooth and compliant build:
- Contact Utility Services:
Before you break ground, call 888-588-1470 to have professionals check and mark the buried utility lines on your property. Damaging underground lines can be dangerous, not to mention costly to repair. - Verify Property Lines:
Take the time to confirm the exact coordinates of your property lines. In Walnut Creek, CA, your local authorities—or even a professional land surveyor—can help you verify boundary details and zoning regulations. This is also the perfect moment to check if you need a permit for fence installation in your neighborhood. - Talk to Your Neighbors:
If your fence will run along or close to a neighbor’s property, have a friendly conversation with them about the project. Confirming boundaries and avoiding any surprises can keep relations amicable in the long term.
By laying this groundwork, you’ll avoid most major headaches later on and ensure that your vinyl fence gate installation meets Rolling Gates’ standards, as well as local codes and your neighbors’ expectations.
Tools and Materials You’ll Need
Before you start learning how to install vinyl fence gate in Walnut Creek, CA, it’s critical to gather the necessary tools and materials. Having everything on hand helps your project run smoothly and minimizes unexpected trips to the hardware store.
Tools
- Measuring Tape: For precise measurements.
- Marking Paint or Stakes and String: To mark the layout of the fence line and gate.
- Post Hole Digger or Auger: Essential for creating holes for your fence posts.
- Level: Ensures posts and panels are straight and true.
- Rubber Mallet: Helps in adjusting panels without damaging them.
- Power Drill and Bits: For attaching hardware and screws.
- Screwdriver: Manual adjustments and hardware attachment.
- Shovel: To remove excess dirt or to backfill holes.
- Wheelbarrow: Useful if you need to mix concrete.
Materials
- Vinyl Fence Posts: Specific to the style of fence you’ve chosen.
- Vinyl Fence Panels or Rails: Match them with your posts and gate.
- Vinyl Gate Kit: Includes the gate itself and any specialized hardware.
- Concrete Mix: Quick-setting concrete is usually sufficient.
- Gravel (Optional): Helps with drainage at the base of your post holes.
- Gate Hardware: Hinges, latches, and any additional accessories.
- PVC Cement (If Needed): Some vinyl fencing systems use interlocking features, but certain designs might require PVC cement to secure caps or other components.
Make a quick checklist: measure your property boundaries, note how many posts and panels you’ll require, and ensure you have enough concrete and hardware to complete the job.
Step-by-Step Guide: How to Install Vinyl Fence Gate in Walnut Creek, CA
At last, let’s dive into the main event—how to install vinyl fence gate in Walnut Creek, CA. Below, you’ll find a detailed, step-by-step breakdown from planning to final adjustments. Take your time with each step; the more care you invest early on, the smoother your installation will be.
Step 1: Lay Out Your Design and Measurements
- Determine Gate Location: Decide where the gate will be placed—often near a walkway or driveway for convenient access.
- Measure the Opening: The width of your gate kit usually dictates the size of the opening. For instance, if your gate kit is 36 inches wide, consider leaving an extra inch or two for hardware clearances.
- Calculate Spacing: For the remaining fence panels, measure the distance between posts to ensure uniform spacing. Follow the manufacturer’s guidelines for panel width.
Pro Tip: Keep your design symmetrical when possible. If you have multiple gates or fence sections, balanced spacing can give a professional look.
Step 2: Digging Post Holes
Once you’ve laid out the design and marked where the posts should go, it’s time to dig post holes.
- Depth and Diameter: In Walnut Creek, you should typically dig holes at least 24 inches deep (or deeper, depending on fence height) to account for the region’s occasional wind gusts. The diameter should be about three times the width of the post.
- Using an Auger: An auger can greatly speed up this process, especially in clay or rocky soil conditions. If you don’t have one, renting an auger may be worthwhile for larger projects.
- Check for Utility Lines: If you haven’t already done so, confirm that no underground utilities run where you plan to dig.
Pro Tip: If you encounter particularly dense soil or numerous rocks, dig the hole a few inches deeper and add a layer of gravel at the bottom. This helps with drainage and increases stability.
Step 3: Setting and Leveling the Posts
The posts form the backbone of your fence and gate, so proper setting is crucial.
- Place the Post in the Hole: Position the post so that the fence side faces the correct direction. If you have end posts or corner posts, align them based on your design layout.
- Pour Concrete Mix: Follow the manufacturer’s instructions to mix your concrete. Some quick-setting concretes allow you to pour the dry mix in the hole and then add water, but make sure you read the instructions carefully.
- Level the Post: Use a level on at least two adjacent sides of the post. Adjust the post until it’s perfectly vertical.
- Secure in Place: Some people use temporary bracing (e.g., wood stakes and clamps) to hold the post level while the concrete sets. This can be especially helpful if you’re working alone.
- Allow Time to Cure: Most concrete mixes recommend at least 24 hours of curing before you attach any weight to the posts.
Pro Tip: Set corner and gate posts first. Once they are firmly in place, string a line between them to ensure all other posts line up perfectly.
Step 4: Attaching Rails and Panels
After your posts have cured, it’s time to connect the fence sections.
- Insert the Rails: Many vinyl fence systems have rails that slide into precut holes on the posts. Ensure these rails are level and secure.
- Attach Fence Panels: The panels typically slide or snap into the rails. Depending on the fence style, you may need to secure them with screws. Always refer to the manufacturer’s instructions.
- Check for Gaps: Make sure everything lines up correctly without leaving awkward spaces. If you see large gaps, you may need to adjust your posts or panel placement.
Pro Tip: Keep a rubber mallet handy. Light taps can help seat panels snugly without causing damage to the vinyl.
Step 5: Installing the Gate Hardware
Now that the fence body is mostly complete, you can focus on the gate hardware. Properly installed hinges and latches can dramatically affect how well your gate functions.
- Mark Hinge Placement: Typically, you’ll have two or three hinges depending on the gate’s size and weight. Mark where the hinges will attach on the gate post and the gate itself.
- Pre-Drill Holes: Vinyl can crack if you try to force a screw into it without pre-drilling.
- Attach Hinges: Use corrosion-resistant screws or the hardware included in your kit.
- Secure the Latch: Align the latch so it closes properly against the gate frame.
Pro Tip: If your gate is large or heavy, consider adding a diagonal brace or extra support within the gate structure to prevent sagging over time.
Step 6: Hanging the Vinyl Fence Gate
With your hardware in place, it’s time to hang the gate.
- Lift the Gate into Position: This step might require a second person to hold the gate while you align it with the hinges.
- Align with the Post: Secure the hinges to the post, one at a time, ensuring the gate remains level.
- Check Swing and Clearance: Open and close the gate several times to confirm it swings freely without dragging on the ground or fence panels. If your yard has a slope, adjust the hinge placement to accommodate the incline.
Pro Tip: Use small shims or blocks underneath the gate while attaching the hinges to keep it at the correct height.
Step 7: Double-Checking and Adjusting
Finally, walk through a thorough inspection of your fence and gate:
- Check Post Stability: Gently shake each post. If there’s too much movement, check if the concrete has cured completely or if you need more backfill.
- Confirm Panel Alignment: Ensure no panels are warped or out of place.
- Gate Operation: Test the gate latch, lock, or any additional security features. Make minor adjustments where necessary.
- Clean the Site: Remove excess debris, store leftover materials safely, and give the fence a quick wipe down if it’s dusty.
Congratulations—your vinyl fence gate is now installed!
Frequently Asked Questions
Q1: Do I need a permit to install a vinyl fence gate in Walnut Creek, CA?
A1: It depends on the height and scope of your fence. If the fence exceeds a certain height or if you’re making major changes, you’ll likely need a permit. Always check with the local building department.
Q2: How long does a vinyl fence gate last?
A2: With proper installation and basic maintenance, a vinyl fence gate can last 20-30 years or even longer. The hardware might need occasional replacement, but the vinyl itself is very durable.
Q3: Will extreme heat damage vinyl?
A3: Vinyl can become more flexible in very hot temperatures but won’t necessarily warp or melt under typical Walnut Creek summer conditions. Quality vinyl fencing is manufactured to withstand temperature fluctuations.
Q4: Can I install a vinyl fence gate on a slope?
A4: Yes, but you’ll need to use a “stepped” or “racked” installation approach to accommodate the slope, ensuring each panel remains vertical.
Q5: What if my soil is very hard or rocky?
A5: Consider renting a more powerful auger, and be prepared to dig a bit deeper. Adding gravel at the bottom of the hole can also improve stability.
Conclusion
Installing a vinyl fence gate can truly transform your Walnut Creek property, offering both enhanced privacy and distinctive curb appeal. By carefully planning each stage—confirming local regulations, marking precise measurements, and securing posts in the region’s varied soil—you’ll set yourself up for a smooth, long-lasting project. Remember, the foundation of successfully learning how to install vinyl fence gate in Walnut Creek, CA lies in thorough preparation: measure twice, ensure proper spacing, and give the concrete ample time to cure.
If you encounter challenges—such as uneven terrain or complex HOA rules—consulting a local professional might be the best choice. However, many homeowners find that with the right tools and a little patience, installing a vinyl fence gate is an achievable and satisfying DIY venture. In the end, a well-installed gate not only safeguards your property but also elevates your home’s aesthetic and value, providing years of enjoyment in Walnut Creek’s welcoming neighborhoods.
End Note
For homeowners ready to take on the challenge of how to install vinyl fence gate in Walnut Creek, CA, Rolling Gates makes a trusted partner every step of the way. With our broad expertise—from gate repair and gate openers to a wealth of FAQs and an inspiring gallery—Rolling Gates goes beyond mere products and services.
We offer personalized advice and top-tier support that can ensure your vinyl fence gate stands strong for years to come. Simply check our service area to confirm availability in your region, and if you’re looking for tailored guidance or a hands-on approach, don’t hesitate to contact us directly. Whether you choose DIY or professional installation, Rolling Gates helps make your Walnut Creek fence gate project a smooth and successful experience.